A Step-by-Step Guide to DIY Appliance Repair
IA
Understanding DIY Appliance Repair
Repairing your own appliances can be a cost-effective and satisfying endeavor. With a little guidance and some basic tools, you can tackle many common issues yourself. This guide will walk you through the essential steps to get started with DIY appliance repair.
Gathering the Necessary Tools
Before you begin any repair, it's crucial to have the right tools on hand. Some of the basic tools you might need include:
- Screwdrivers (Phillips and flathead)
- Multimeter
- Pliers
- Socket set
- Adjustable wrench
Having these tools will prepare you for most minor repairs and help you work more efficiently.
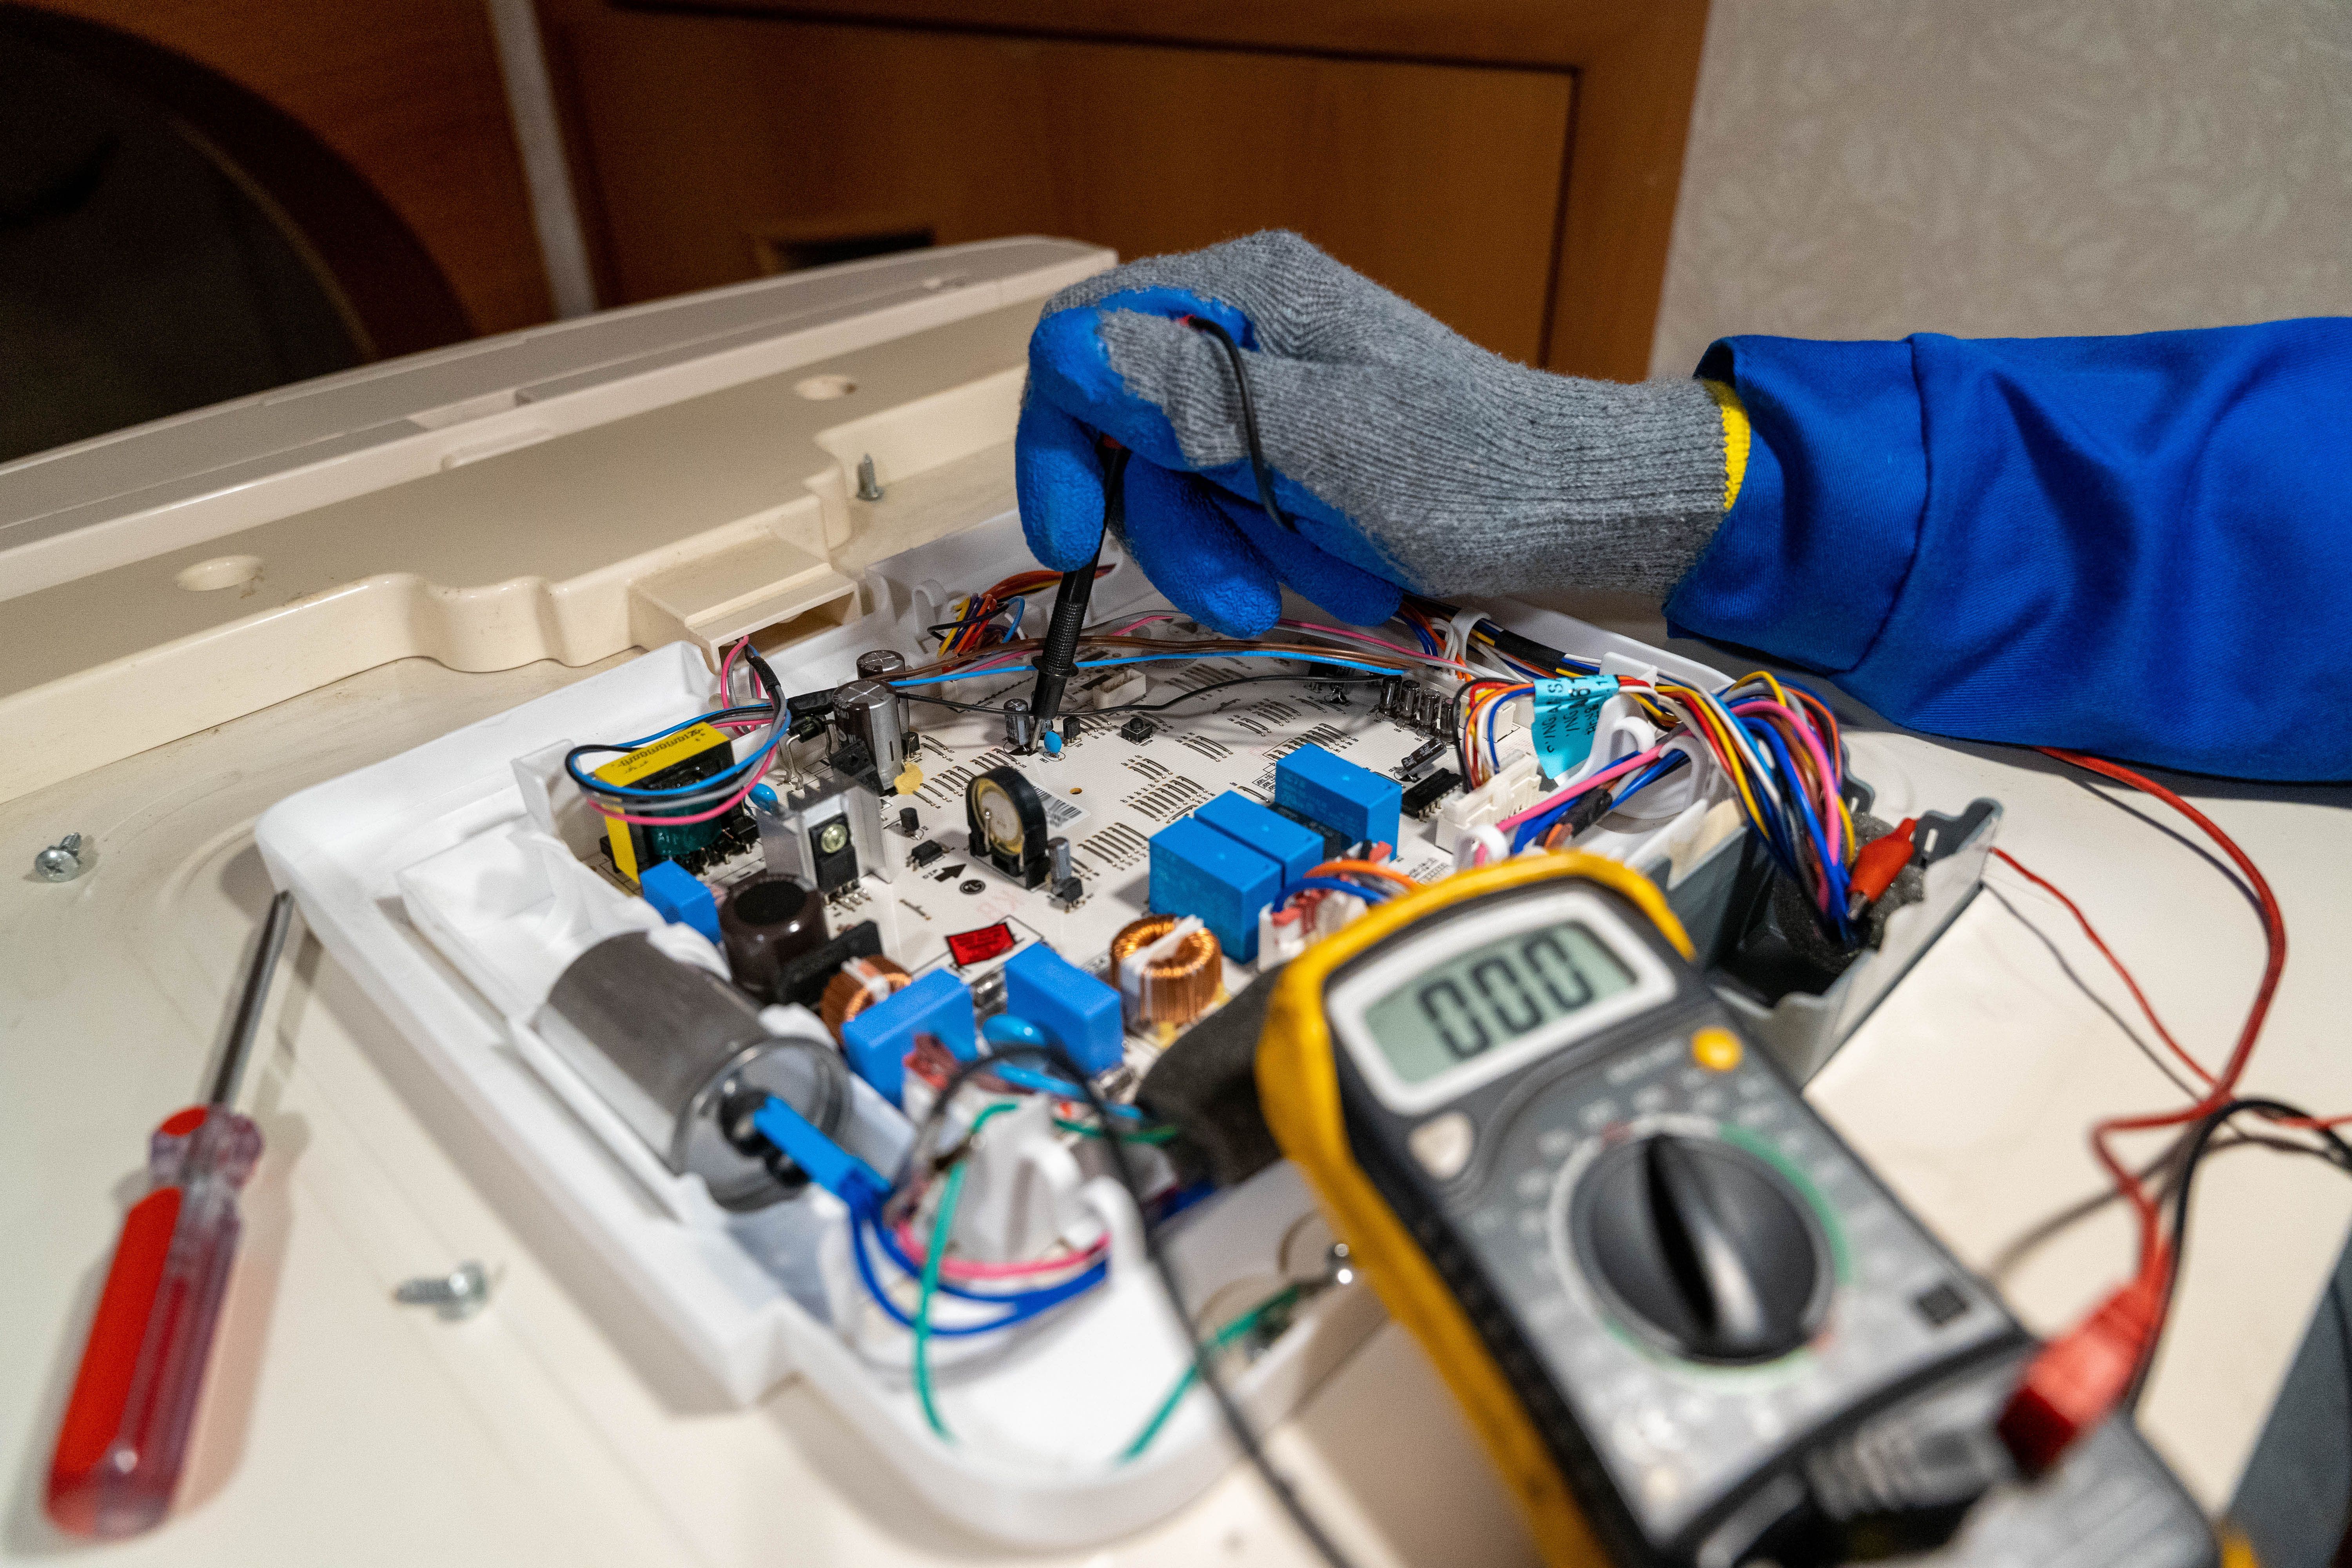
Diagnosing the Problem
Identifying the issue is the first step in any repair process. Start by observing the symptoms and researching potential causes. Use online resources and forums to gather insights from others who have faced similar issues.
Once you have a general idea of the problem, you can start to narrow down the specific part or component that may be causing the malfunction.
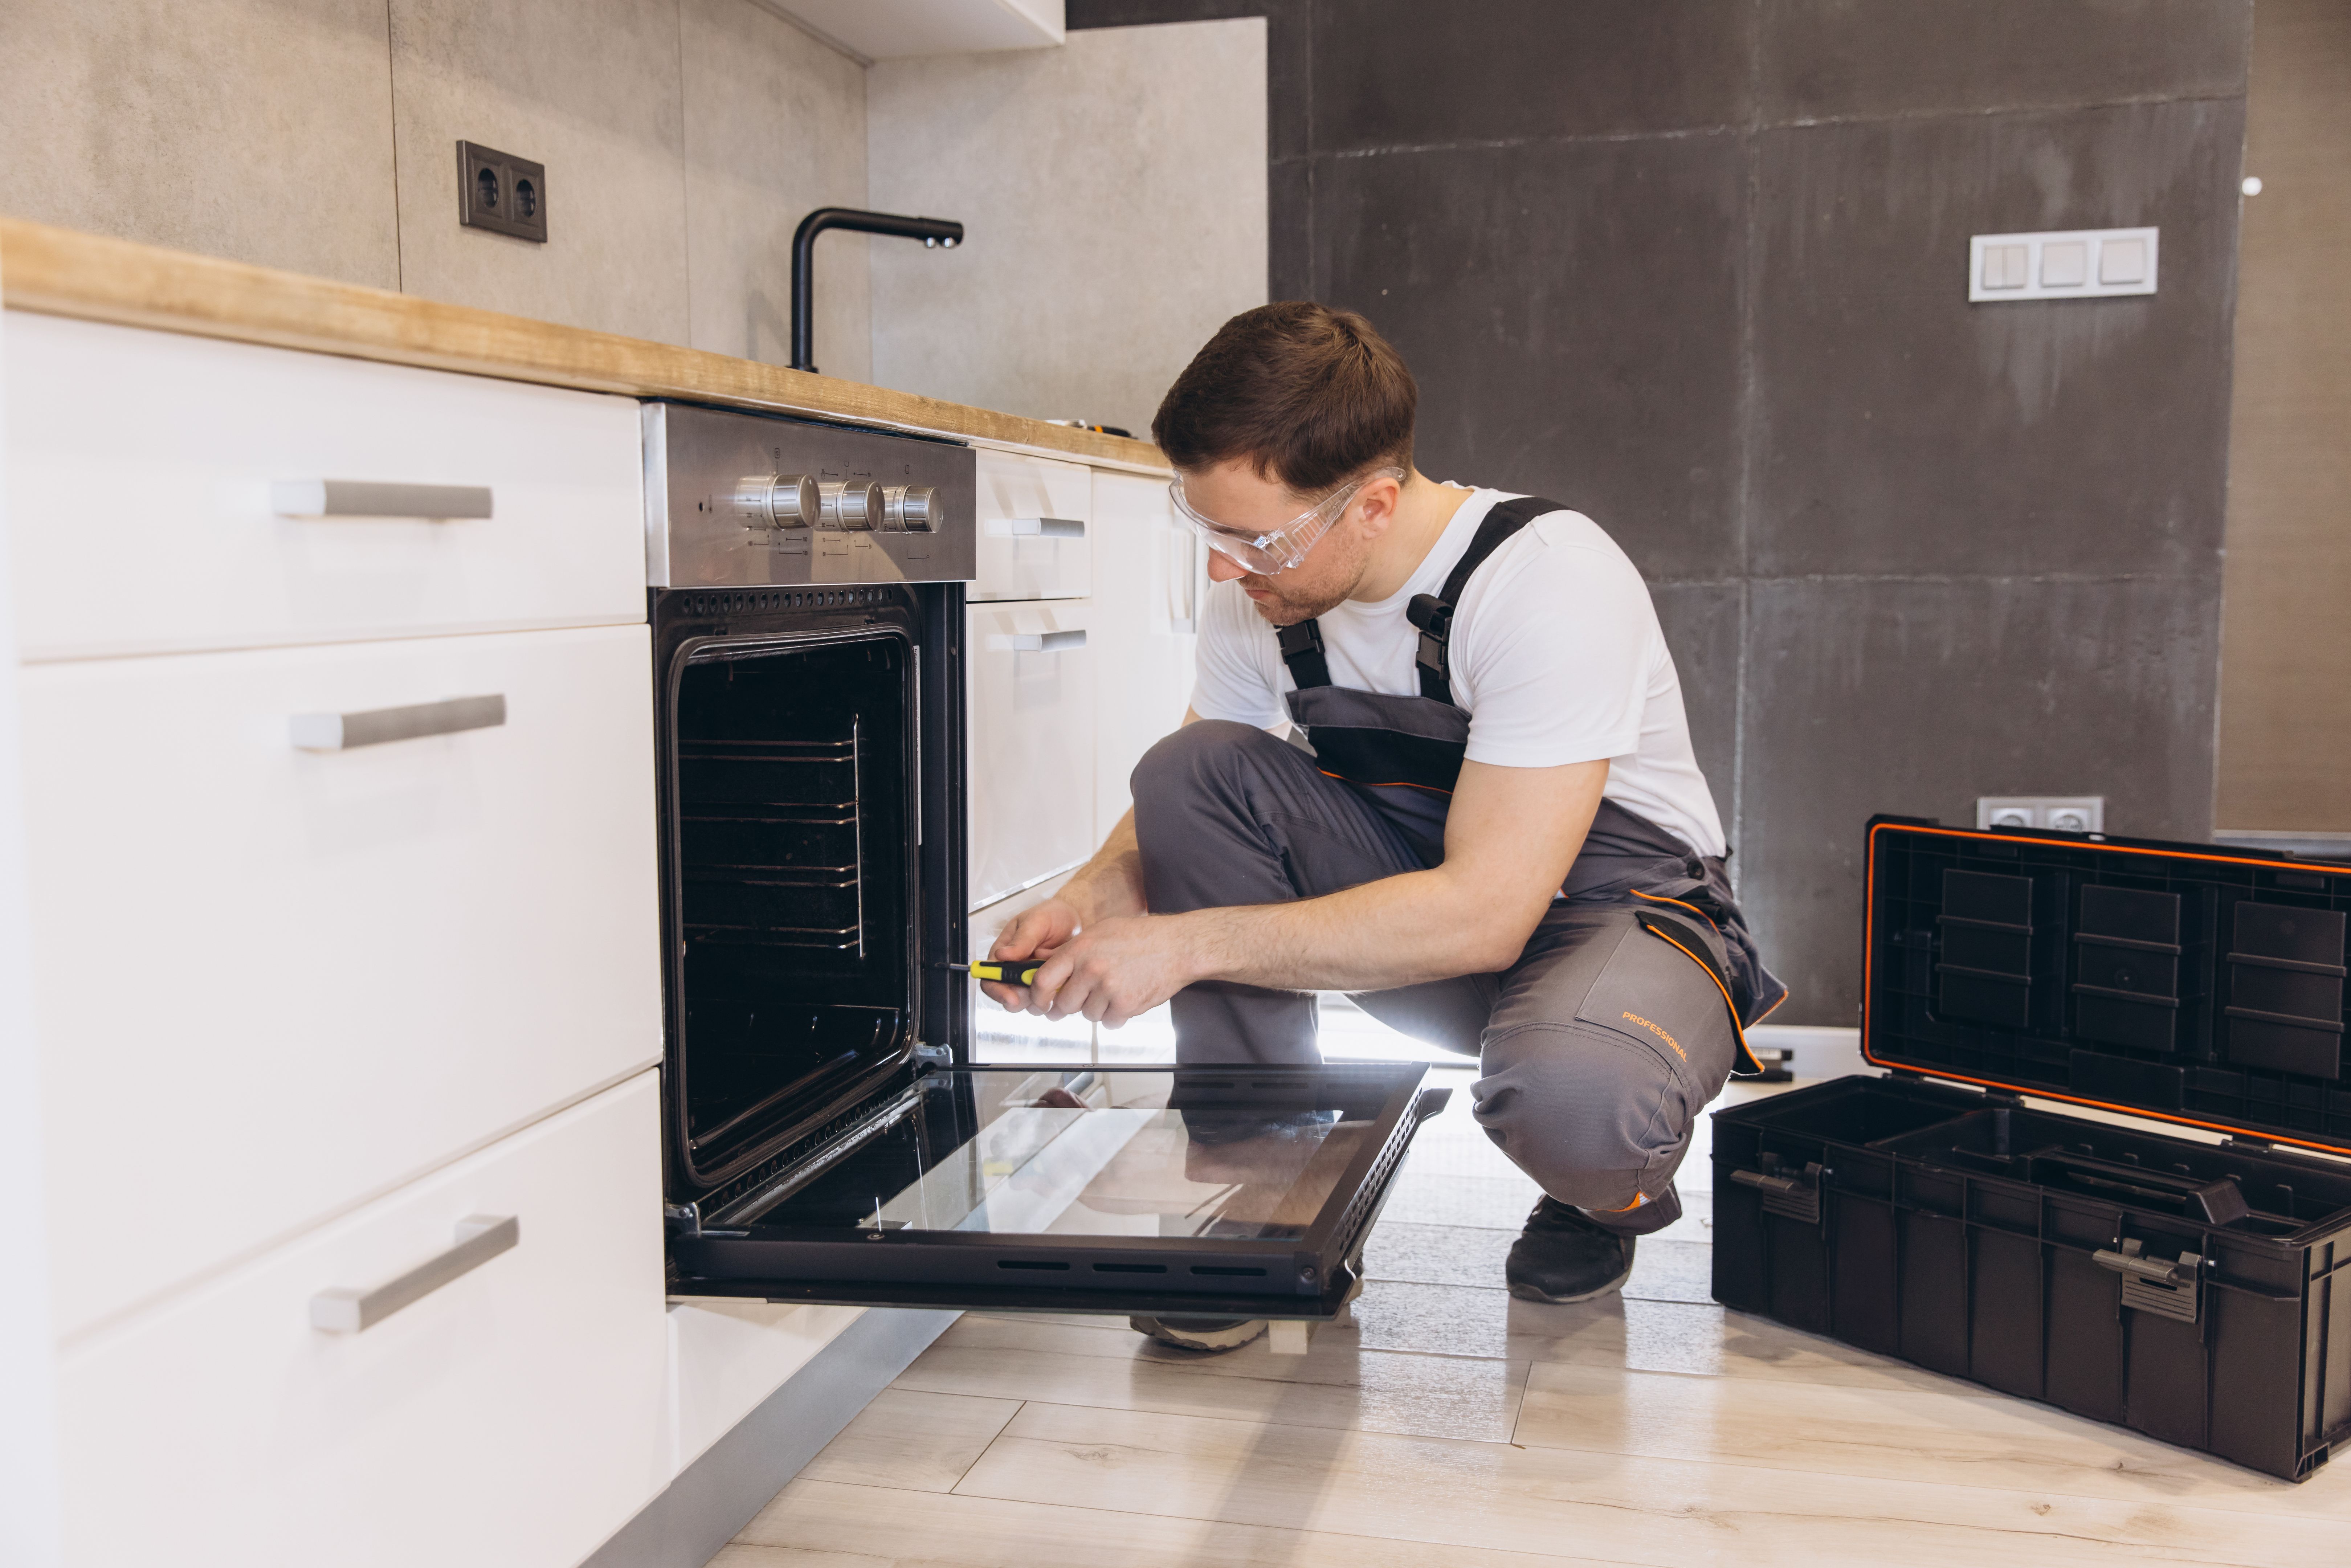
Safety First
Safety should always be your top priority when working on any appliance. Make sure to unplug the device before starting any repairs. If you're working on a gas appliance, ensure the gas supply is turned off.
Wearing protective gear like gloves and safety goggles can also help prevent injuries. If you're ever unsure about a repair, consider consulting a professional.
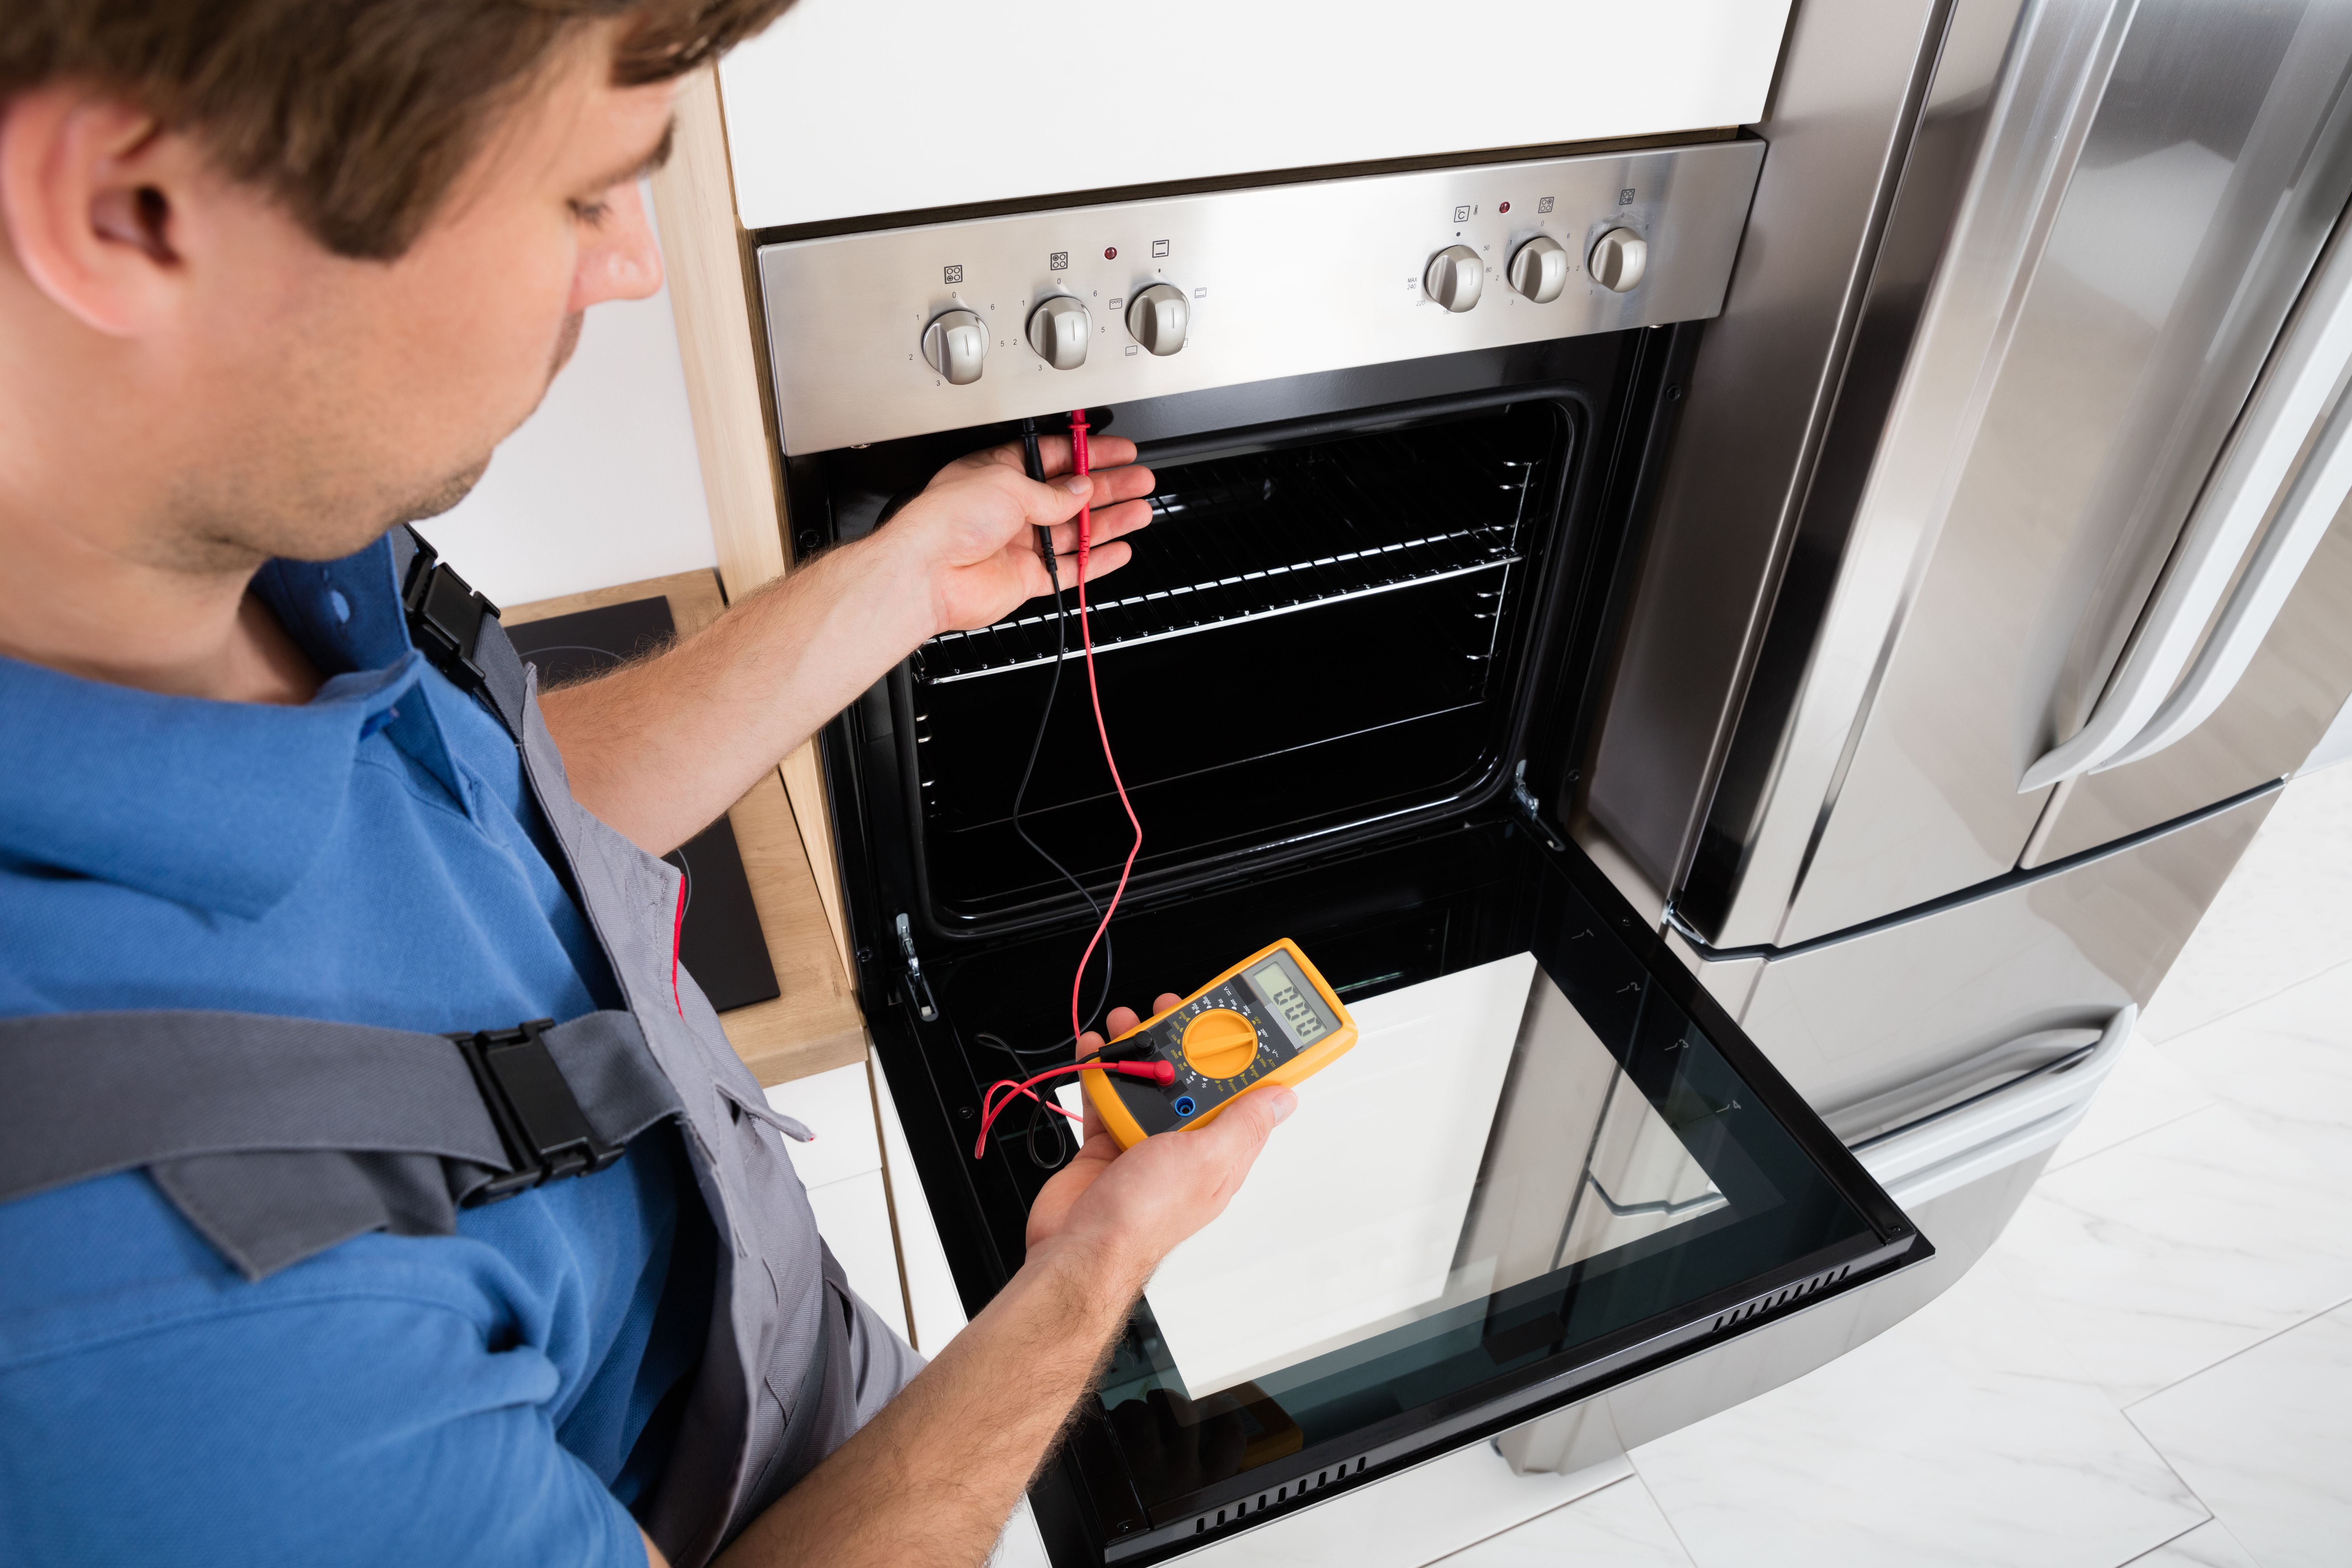
Troubleshooting Common Appliances
Many household appliances share similar components, making troubleshooting a universal skill. Here are some common issues and their potential fixes:
- Refrigerator not cooling: Check the thermostat settings and clean the condenser coils.
- Washing machine not draining: Inspect the drain hose and pump for blockages.
- Oven not heating: Test the heating element and replace if necessary.

Replacing Parts
Once you've identified the faulty component, replacing it is often straightforward. Refer to the appliance's manual for specific instructions and ensure that you purchase the correct replacement part. Many parts are available online or at local appliance stores.
When installing a new part, follow the instructions carefully and double-check your work to ensure everything is secure and functioning correctly.
Testing and Final Checks
After completing the repair, it's time to test the appliance. Plug it back in and run it through a cycle to ensure the issue is resolved. Pay close attention to any unusual noises or behaviors.
If the problem persists, re-evaluate your diagnosis and consider whether a professional repair might be necessary.
Conclusion
DIY appliance repair can be a rewarding project that saves money and extends the life of your devices. By following these steps and prioritizing safety, you can handle many repairs on your own. Remember, practice makes perfect, and each repair builds your confidence and skillset.